

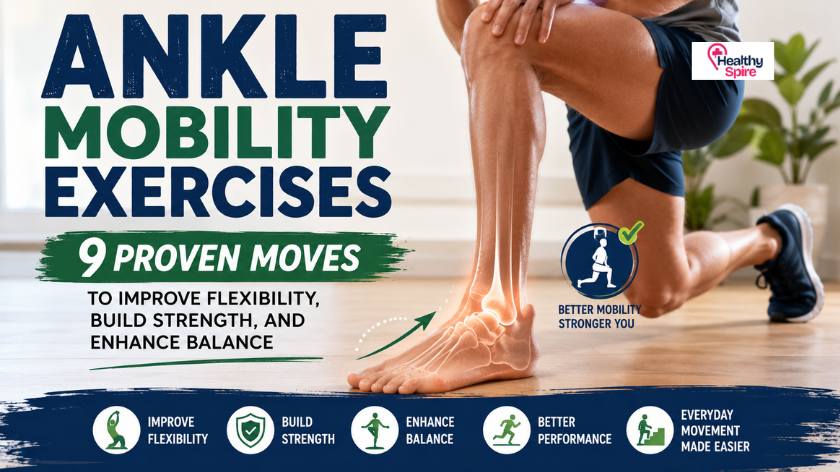
Ankle mobility exercises can help you move your knees forward over your toes with better control. That motion, called dorsiflexion, plays a role in walking, climbing stairs, lunging, and squatting. A useful routine combines gentle joint movement, calf stretching, controlled loading, and basic strength work.
You don’t need a long workout or special equipment. Most people can practice the following routine at home in about 10 minutes. The movements should feel controlled, not painful.
| Quick guide | Recommendation |
| Main goal | Improve comfortable ankle range of motion |
| Routine length | About 8–12 minutes |
| Frequency | Three to five days per week |
| Equipment | Wall, chair, towel, and optional resistance band |
| Best starting point | Knee-to-wall mobility test |
| Stop the routine if | You feel sharp pain, instability, or increasing swelling |
Why Ankle Mobility Matters?
The ankle connects the lower leg to the foot and allows two main movements. Plantar flexion points the foot downward, while dorsiflexion brings the top of the foot toward the shin. Dorsiflexion helps your shin travel forward while your heel stays on the ground. You use this motion when walking downhill, lowering into a squat, descending stairs, or landing from a step.
When this movement feels restricted, your body may find another way to complete the task. Your heels may lift during a squat. Your feet may turn outward, or your knees and hips may change position. Stiffness doesn’t always come from the same source.
Tight calf muscles, previous injury, joint restrictions, swelling, and limited movement habits can all play a part. Recent clinical guidance supports assessing the restriction before choosing a targeted intervention.
Check Your Range With the Knee-to-Wall Test

The knee-to-wall test offers a simple way to check dorsiflexion under body weight.
- Face a wall in a half-kneeling or staggered stance.
- Place your front foot flat on the floor.
- Move your front knee toward the wall.
- Keep the heel down and point the knee over the middle toes.
- Move the foot back until you find the farthest comfortable distance.
- Compare both sides.
A small difference between sides isn’t always a problem. Pay more attention to pain, a hard block, heel lifting, or a clear restriction that affects daily movement. Use the test as a progress check rather than a diagnosis. Measure under similar conditions each time, such as before your workout or after the same warm-up.
9 Ankle Mobility Exercises to Try

Start with the easier movements and progress toward loaded drills. Move within a range you can control.
1. Ankle Circles
Sit in a chair or stand while holding a stable surface. Lift one foot slightly and draw slow circles with your toes. Complete 8 to 10 circles in each direction. Make each circle smooth rather than forcing the largest possible range. This drill moves the joint through several directions and works well at the start of a warm-up.
2. Ankle Alphabet
Sit with one leg supported and your foot off the floor. Use your big toe to trace the letters of the alphabet. Keep the movement at the foot and ankle instead of rotating your whole leg. One alphabet per side is enough. This exercise gives you gentle movement without placing body weight through the joint.
3. Straight-Knee Calf Stretch
Place both hands on a wall. Step one foot behind you and keep the back knee straight. Press the back heel toward the floor until you feel a stretch in the upper calf. Hold for 20 to 30 seconds, then switch sides. Avoid bouncing. Move closer to the wall when the stretch feels too intense.
4. Bent-Knee Calf Stretch
Use the same wall position, but bend the back knee while keeping the heel down. You should feel the stretch lower in the calf. Hold for 20 to 30 seconds. Complete two rounds on each side. The straight-knee and bent-knee versions target the calf differently, so including both may give you a more complete routine.
5. Knee-to-Wall Rocks
Place your front foot a comfortable distance from the wall. Slowly guide your knee forward until it touches the wall, then return to the starting position. Keep the heel planted and track your knee over the second or third toe. Perform 8 to 12 controlled repetitions per side. Move the foot slightly farther back only when you can maintain good form.
6. Half-Kneeling Dorsiflexion Pulses
Begin in a half-kneeling position with one foot in front. Shift your body forward so the front knee moves over the toes. Pause briefly, then move back. Keep the whole front foot in contact with the floor. Complete 10 slow repetitions. Place a folded towel under the back knee for comfort.
7. Heel and Toe Walks
Stand tall near a wall or counter. Lift your toes and walk forward on your heels for 10 to 15 steps. Next, rise onto the balls of your feet and take another 10 to 15 controlled steps. Use support when needed. Heel walking activates the muscles at the front of the lower leg. Toe walking challenges the calves and foot muscles.
8. Controlled Split Squat
Stand in a staggered stance and hold a chair for balance. Lower your body while allowing the front knee to travel forward. Keep the front heel down. Use a short range at first, then increase the depth as your control improves. Complete 6 to 10 repetitions per side. This movement trains available range under light body weight.
9. Slow Calf Raises
Stand with both feet flat and hold a stable surface. Rise onto the balls of your feet over two seconds. Pause at the top, then lower for three seconds. Complete 8 to 15 repetitions. Calf raises don’t only build strength. They also help you control the ankle through plantar flexion and return to the starting position.
A Simple 10-Minute Routine
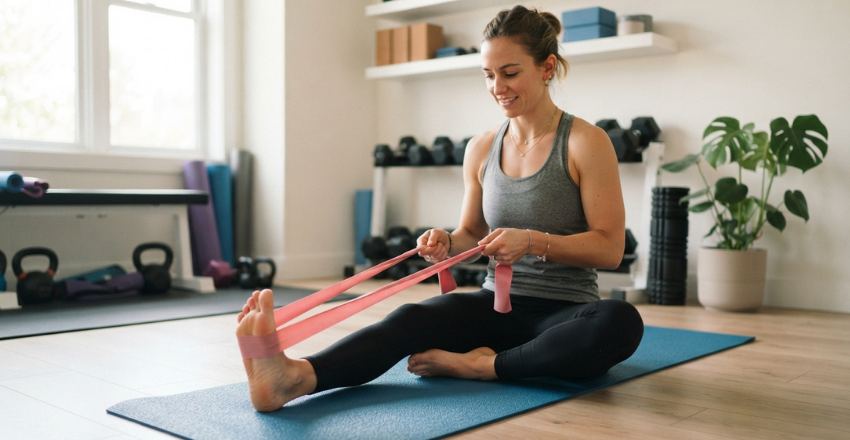
Use this sequence when your ankles feel stiff before a walk or lower-body workout:
- Ankle circles: 8 each direction
- Ankle alphabet: one round per side
- Straight-knee calf stretch: 30 seconds per side
- Bent-knee calf stretch: 30 seconds per side
- Knee-to-wall rocks: 10 per side
- Split squats: 8 per side
- Slow calf raises: 12 repetitions
Work at an easy pace. More pressure doesn’t guarantee faster progress.
Research suggests that stretching and corrective exercise programs can improve dorsiflexion in people with limited range. Results depend on the cause of the restriction and the chosen program.
Common Mistakes to Avoid
- Don’t let the arch collapse. Keep the heel, base of the big toe, and base of the little toe in contact with the floor.
- Don’t force the knee inward. Guide it in the same general direction as the middle toes.
- Don’t chase pain. Mild stretching or muscular effort is fine. Sharp, pinching, or worsening pain is a reason to stop.
- Don’t rely on stretching alone. Controlled strength exercises help you use and maintain the range you gain.
- Don’t compare only to someone else’s range. Your movement needs depend on your anatomy, activities, injury history, and goals.
How Often Should You Practice?
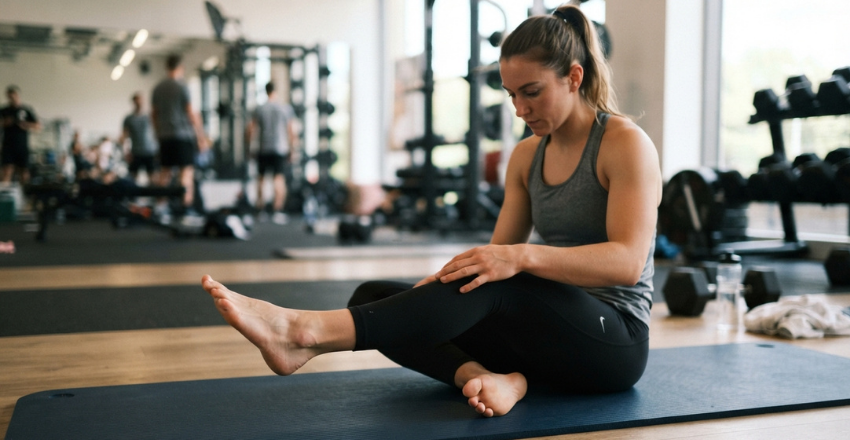
A brief routine three to five days per week is a reasonable starting point. Gentle circles and knee-to-wall rocks may also fit into a daily warm-up. Progress slowly. Add repetitions, range, or light resistance one variable at a time. Retest the knee-to-wall movement every one or two weeks. Look for smoother movement, less stiffness, or improved control rather than demanding a specific distance.
You can find more practical movement guidance in HealthySpire’s Fitness section. For broader wellness information, visit the Health section.
When to See a Healthcare Professional?

Home exercises aren’t suitable for every ankle problem. Seek professional advice when you have:
- Severe or persistent pain
- New or increasing swelling
- Difficulty bearing weight
- Repeated giving way
- Numbness or tingling
- A recent fall, twist, or direct impact
- Stiffness that began after surgery or a fracture
- Symptoms that continue despite reducing activity
A physical therapist or other qualified clinician can assess whether the restriction comes mainly from muscle tightness, join t structure, injury, or another condition.
Build Mobility You Can Control
Better movement comes from combining comfortable range with strength and control. Begin with a simple baseline test, practice the routine consistently, and increase the challenge gradually.
Stop when a movement causes sharp pain or makes your symptoms worse. For ongoing stiffness, swelling, or instability, ask a qualified healthcare professional to assess the cause and guide your next steps.
Want to know about How to Lean Bulk Check out our “Fitness” category.
Frequently Asked Questions (FAQs)
Beginners can start with ankle circles, the ankle alphabet, calf stretches, and gentle knee-to-wall rocks. These drills need little equipment and let you control the range. Add split squats and calf raises when the basic movements feel comfortable.
The timeline varies. Temporary stiffness may ease during a warm-up, while a long-standing restriction can require several weeks of consistent practice. Past injury, swelling, joint structure, and exercise frequency affect progress.
The knee naturally travels beyond the toes during many tasks, including walking downstairs and deep squatting. The movement should remain comfortable, controlled, and matched to your current capacity.
Yes. The calf muscles cross the ankle and can restrict forward shin movement when they are tight. Joint restrictions and previous injuries can cause similar symptoms, so calf stretching won’t address every case.
That depends on the injury’s severity and stage of recovery. Follow the plan provided by your clinician. Avoid using a general mobility routine to replace an assessment after a recent or serious injury.